Editing Documents
Working with Headings
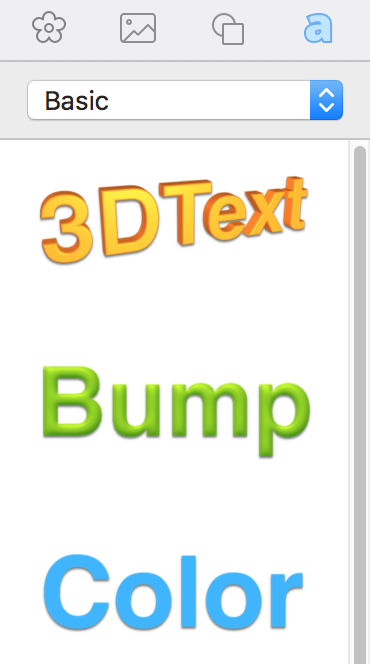
The Source panel contains a library of styles that you can use to create headings and other designs based on text. You should click on the "a" icon to open the library. If the Source panel is hidden, select View > Show Source Panel.

To add a heading to your document, drag and drop a design you like onto the canvas. The program will automatically open a text editor where you can type or paste new text. To open the text editor any time later, double-click on a heading.
Although some headings may look like images and others like text, headings are a separate object type. Headings have a limited amount of properties that can be customized in the Inspector. In the Geometry tab, most of options are available. The Appearance tab lets you change only the opacity. In the Text tab, you can choose font and alignment, and adjust the spacing between characters and lines. In addition to that, the Text tab lets you adjust the color of your heading. A new color will be applied to the whole object.
There are two types of headings in the Source panel: 2D and 3D. A 3D heading, when it is selected, displays a round handle in the middle at the bottom. You can grab and move the handle to rotate a heading in 360 degrees. Regular rotation is available for both heading types.

You should remember that the Heading feature is not supposed to work with large amount of text. This can decrease the program performance.