Layout
Guide Lines and Margin Guides
Guide Lines
Guide lines (or guides) are used to align objects more precisely. Also they can be used to visually split the page into several parts.
Any guide is common for and visible on all layers of the corresponding page (content page). Any guide you place is visible on all layers of the corresponding page (content page). Content pages also displays the guides of the master page applied to them.
To add a guide:
- Select Insert > Vertical Guide or Insert > Horizontal Guide in the menu. A guide added this way is automatically centered either horizontally or vertically.
- Place the cursor over the vertical or horizontal ruler, press the left mouse button and move the mouse pointer towards the canvas. Release the button where you want to place the guide.
- Right click on the canvas where you need to place a guide and select Add Vertical Guide or Add Horizontal Guide in the context menu.
To move a guide, drag it with the mouse. While you are moving a guide, its exact location is displayed next to the cursor.
To input an exact coordinate, bring up the context menu of a guide and type in the coordinate.
To lock a guide, right-click on it and select Lock Guide in the context menu. To lock all guides, select Arrange > Lock Guides in the menu. Locking guides prevents them from being accidentally moved. To unlock guides, use the context or main menu.
To delete a guide:
- Drag it and drop onto the ruler that is parallel to the guide.
- Right-click on the guide and choose Delete Guide.
In the preview mode, guides aren't displayed.
In the Design tab of the Preferences, you can change the color of guides.
You can choose the measurement units in the Document tab of the Inspector.
Grid of Guides
You can place a number of guides over the whole page to create a kind of grid. To do this, select Insert > Layout Guides… in the menu. Then choose one of the two modes Grid or Rows & Columns by activating the corresponding tab.
A grid of guides consists of regular guide lines. You can move and delete them individually as described above. If you need a regular grid, you can activate it in the Inspector.
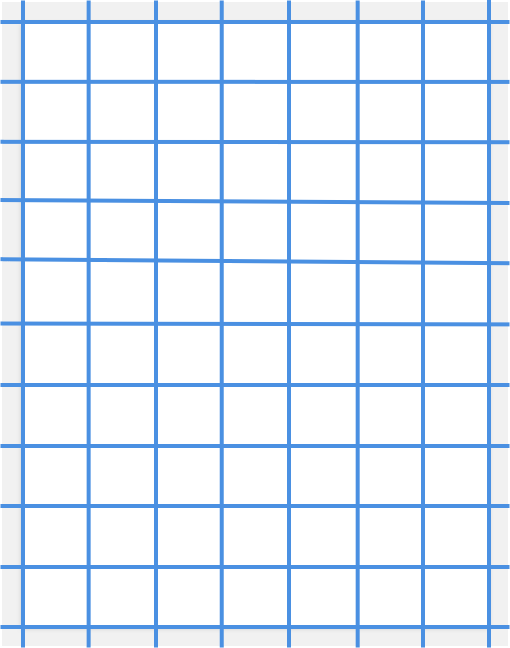
The Grid tab adds guides with even spacings. There is an option to lock guides after creation.
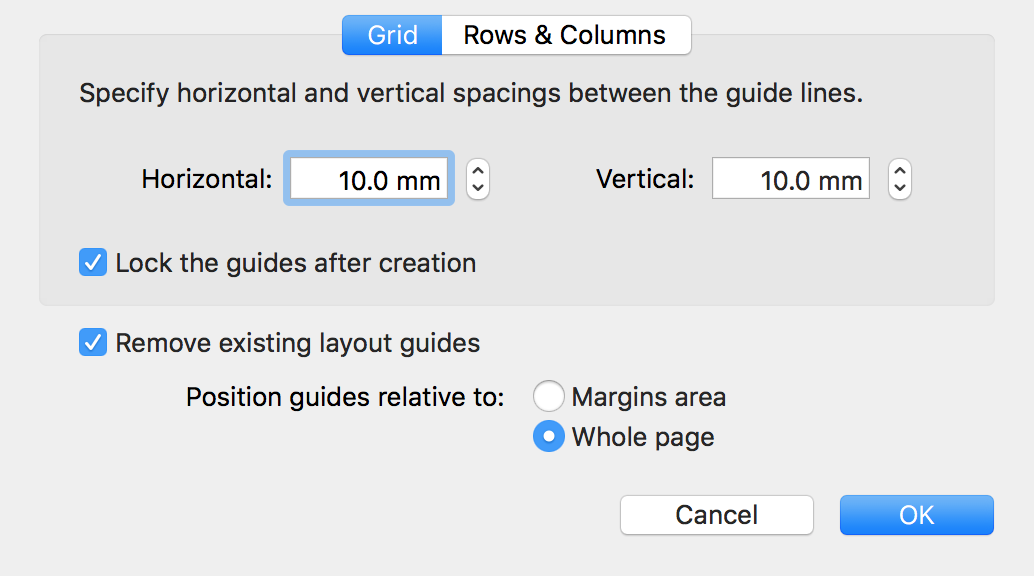
This mode is useful when you need to arrange many objects over the page.
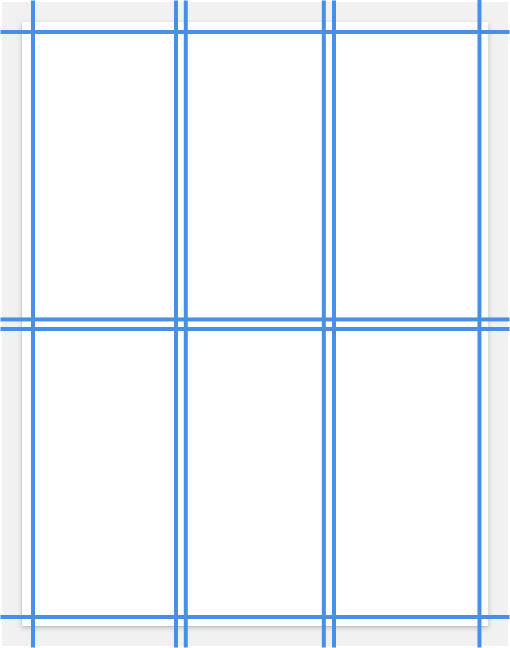
The Rows & Columns tab lets you split the page into several columns and rows. This can be useful for adding columns of text to your design. There is an option to lock guides after creation.
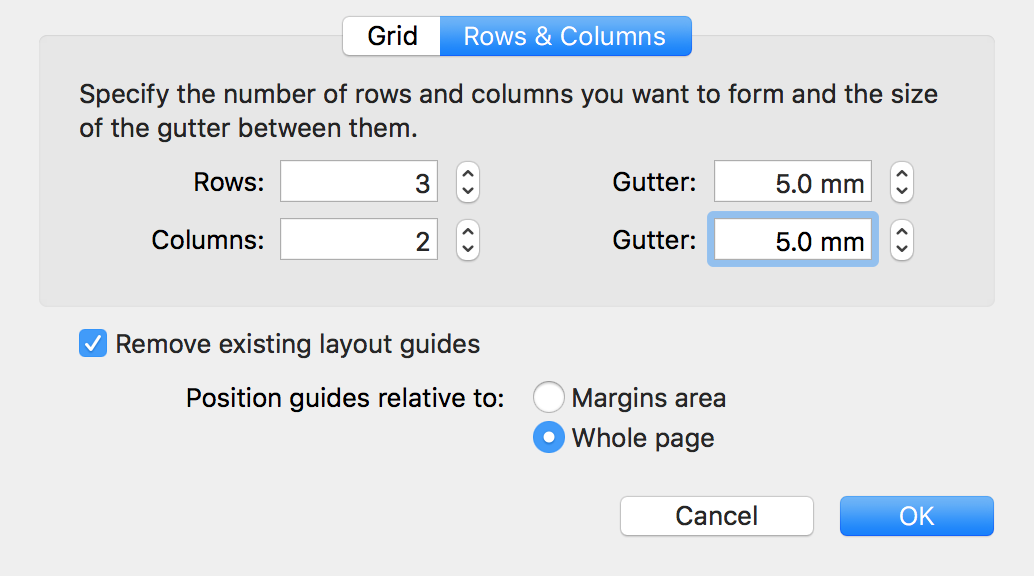
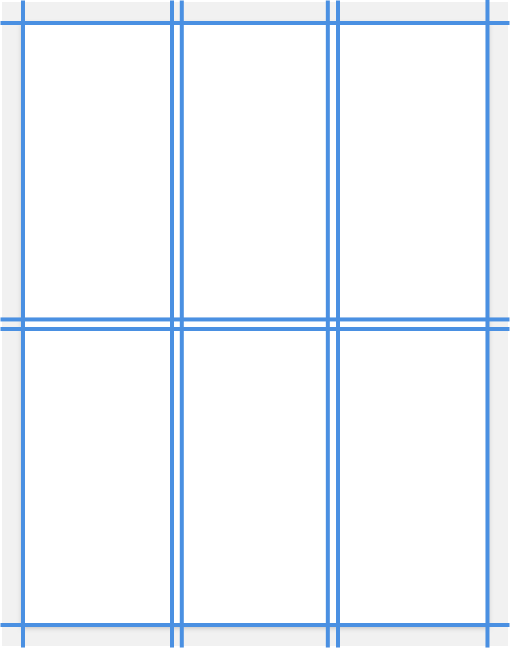
The Gutter parameter lets you add gaps between columns or rows.
Using the Remove existing layout guides check box, you can keep or delete the guide lines already present in your layout.
Another option lets you select whether the new guides should be arranged over the whole page or within the page margins area. Compare the picture below with the one above.
Margin Guides
Margin guides (page margins) let you specify the work area on the page. Page margins look like a frame. The space between margin guides and the page edges is usually left without any text content.
You can set up margin guides in the Document tab of the Inspector.
The margin size is common for all content pages of the document. Once a master page is applied, the common margins are replaced by the margins of this master. To display different margins, apply master pages with different margins. For left and right pages, create two master pages with mirrored page margins.
In the preview mode, margins aren't displayed.