Layout
Custom Paper Layout
To create a new layout, click on the Change Layout… button in the Document tab of the Inspector. Open the Custom section, and click on the plus button below the list.
To customize a standard paper layout, select this paper in the Predefined tab, and click the Customize button.
The Edit Layout dialog has three different views with various sets of controls, depending on the type of selected layout:
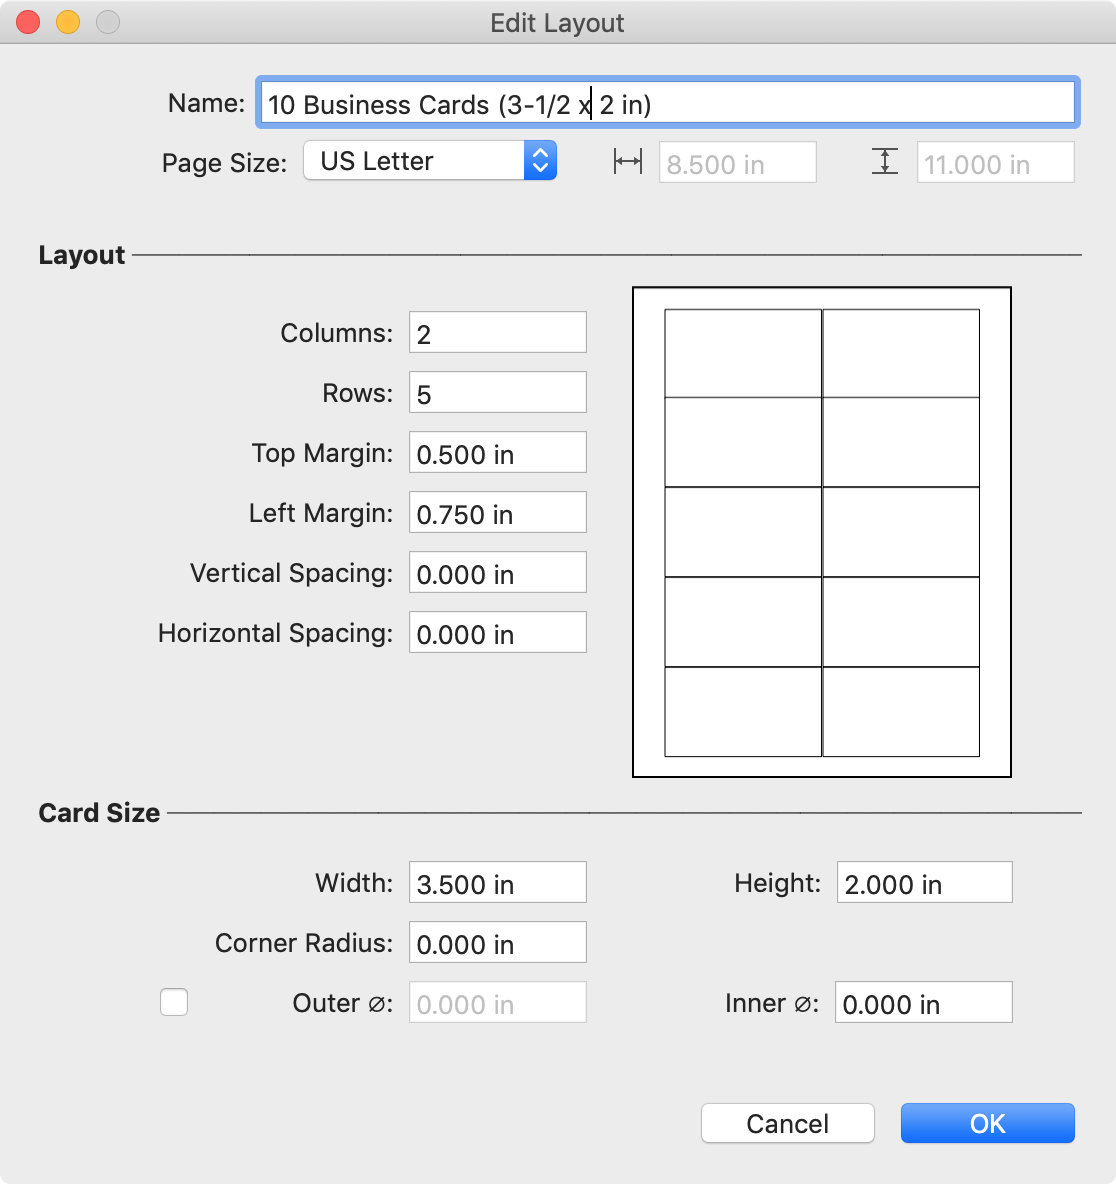
- Multiple identical elements such as mailing labels or business cards. They are placed in a grid so you can specify the element size and gaps.
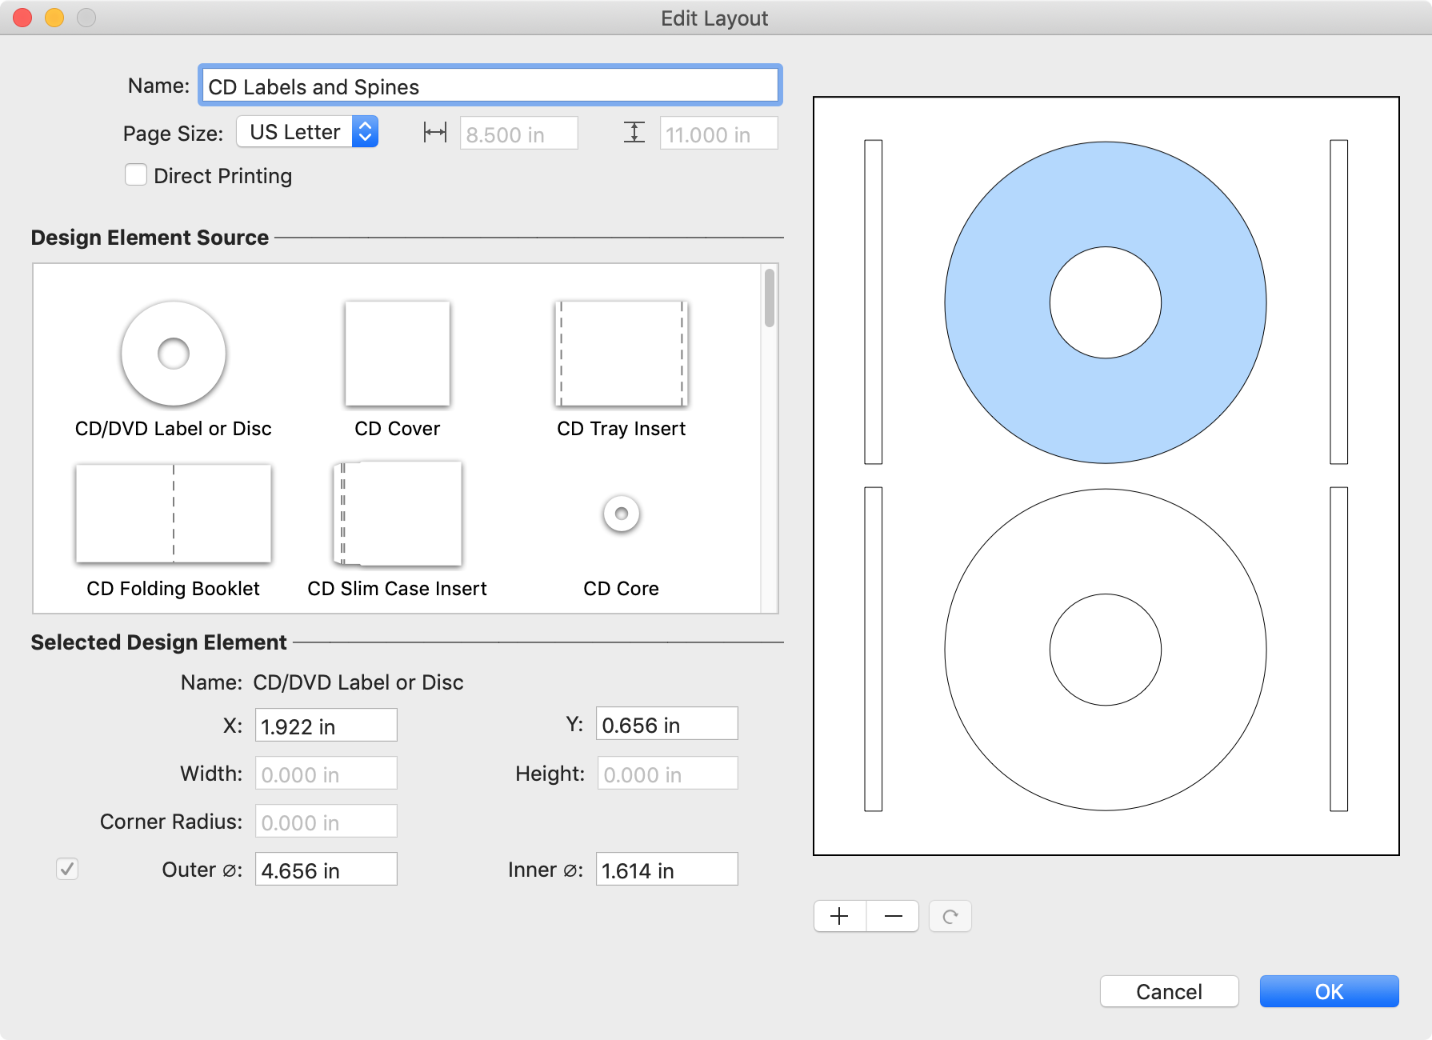
- Multiple elements of different types. This is supported only for disc-related projects. The layout editor is provided with the library of standard elements. You can combine them on the page. Each element lets you set its coordinates individually.
- Individual elements, such as envelopes. Here you can only set the layout name and size.
Business Cards, Mailing Labels and Postcards

Begin the layout creation with the page size. Then set the card or label size. Finally, set up the number of columns and rows. Finally, define the margins and spacing.
CD, DVD and Blu-ray Media

First of all, select the sheet size. To create a disc tray, select the Direct Printing check box. Drag elements from the library to the preview on the right. If needed, change the element position and size using the corresponding edit boxes. To delete elements from the page, click on the minus button. To rotate an element click on the curved arrow below the preview.